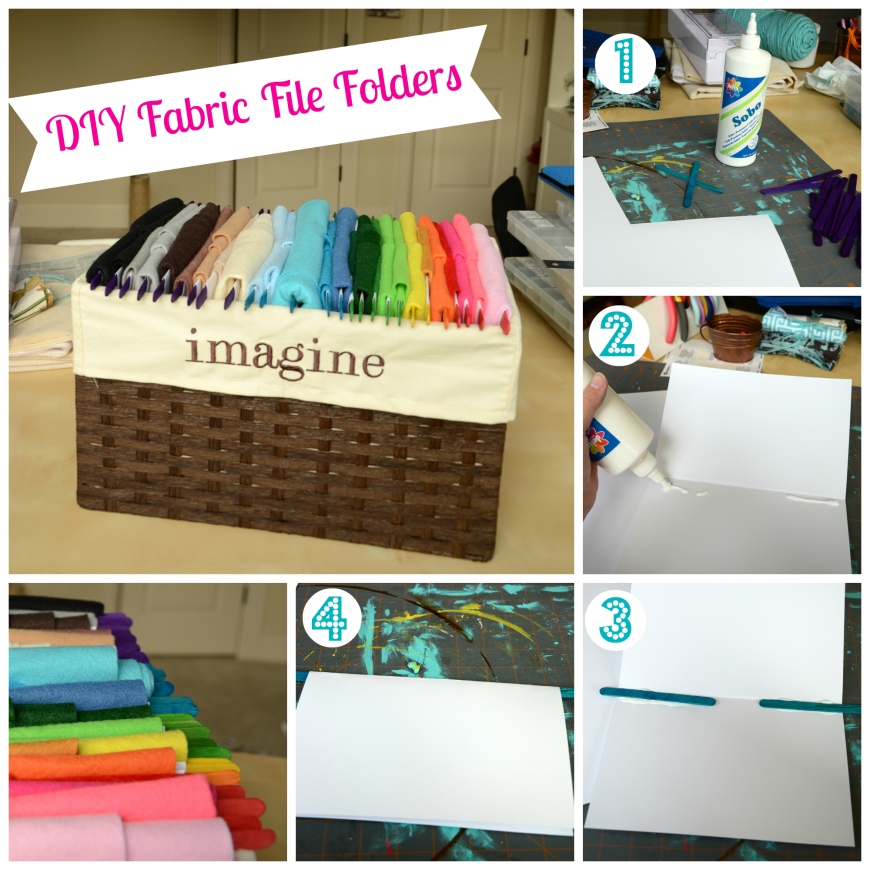
I’ve seen a lot of people use whole or half hanging file folders in order to store fabric. I didn’t have any on hand, not to mention file folders can be pretty pricey, so I decided to come up with a solution using some of the craft supplies I have on hand. This is an inexpensive way to hang fabric in a basket or even a file box using custom-sized file folders!
Materials:
» Cardstock (or other heavy paper)
» Popsicle sticks (I had colored ones on hand, which was fun, but they can be plain as well)
» Glue (I specifically used Sobo glue)
Materials Cost: $0.00 (If you needed popsicle sticks, they would probably run you $1 at the Dollar Tree for 100 colorful or plain, enough for 50 folders)
1. Determine the size of the file folders needed for the container you plan to use. For my “imagine” basket from Michael’s, 8 inches wide was a great width so I decided to simply fold my cardstock in half hamburger style. If you file folders need to be large than half a sheet of 8.5 x 11 paper, you may want to overlap and glue two pieces of cardstock together to ensure your folder remains sturdy.
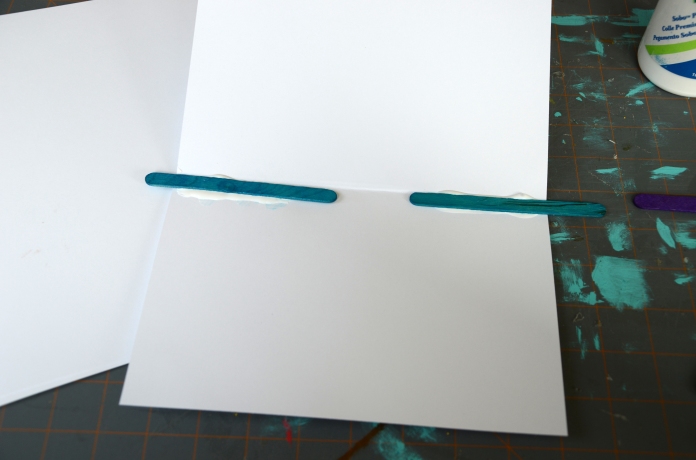
2. After folding all my papers in half, I began gluing on the popsicle sticks inside the fold. I left about an inch to an inch and a half overhang for the popsicle sticks. For this project, I specifically chose Sobo Glue as it’s my go-to-glue for “I’m gluing two things together that normally don’t go together,” i.e. wood and paper. For this project, it’s better to overuse the glue a bit than not.
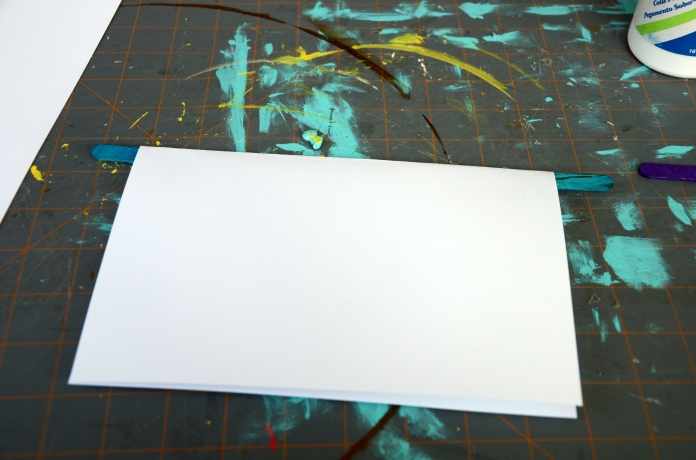
3. Allow the glue to dry completely before attempting to use the file folders. I placed my drying file folders under a stack of heavy books in order to ensure the popsicle sticks were stuck down completely.
This project is so simple! After I completed my folders, I folded my felt over the top of the new folders and arranged it in rainbow order. Now it’s easy for me to see what felt I have full sheets of and how many (I folded each sheet in half hotdog style, then staggered them so I can count the sheets if I need to). This project has so many applications! You could use it to create folders for paper scraps, fabric, magazine clippings, etc. You can make the file folders upside down like this to hang things, or you could create them like regular file folders to put paper scraps inside of. What’s great about the wooden popsicle sticks is that you can write on them directly with a marker to easily fine things.
I hope this project helps you get organized! I’m entering the last week of my 30 Day Craft Challenge and I’m hoping I can finish organizing my craft room this week! More easy organization projects to come!
|The Creative Physician|


What a great Idea! Much better than placing folded fabric stacked in a cupboard ! TFS!
This is such a great idea! Keeps everything in view and clutter free! Love it!
great tip
It’s a good idea because then you can color coordinate the fabric in the folders and see what inventory you have. 🙂 I may have to do this with all my fabric.
This is a GREAT idea! Love it! Even if not for fabric for any type of hanging folder! TFS! #sscnet
Clever! #sscnet
As always, creatively useful!
An innovative solution. I’m not very organised, I try to be, I intend to be, but then so many things get in the way when I’m painting that I end up with everything looking like its a wizards workshop that’s had a paint explosion; but I’m great at clearing up and cleaning (just as well really).
I am in awe of the Simple Brilliance!!
Great organizational ideas, I pinned it too:)
What a great way to stay organized. I don’t sew but do have a selection of fabric for other crafts. Will use this idea.